Tuesday, May 17, 2011

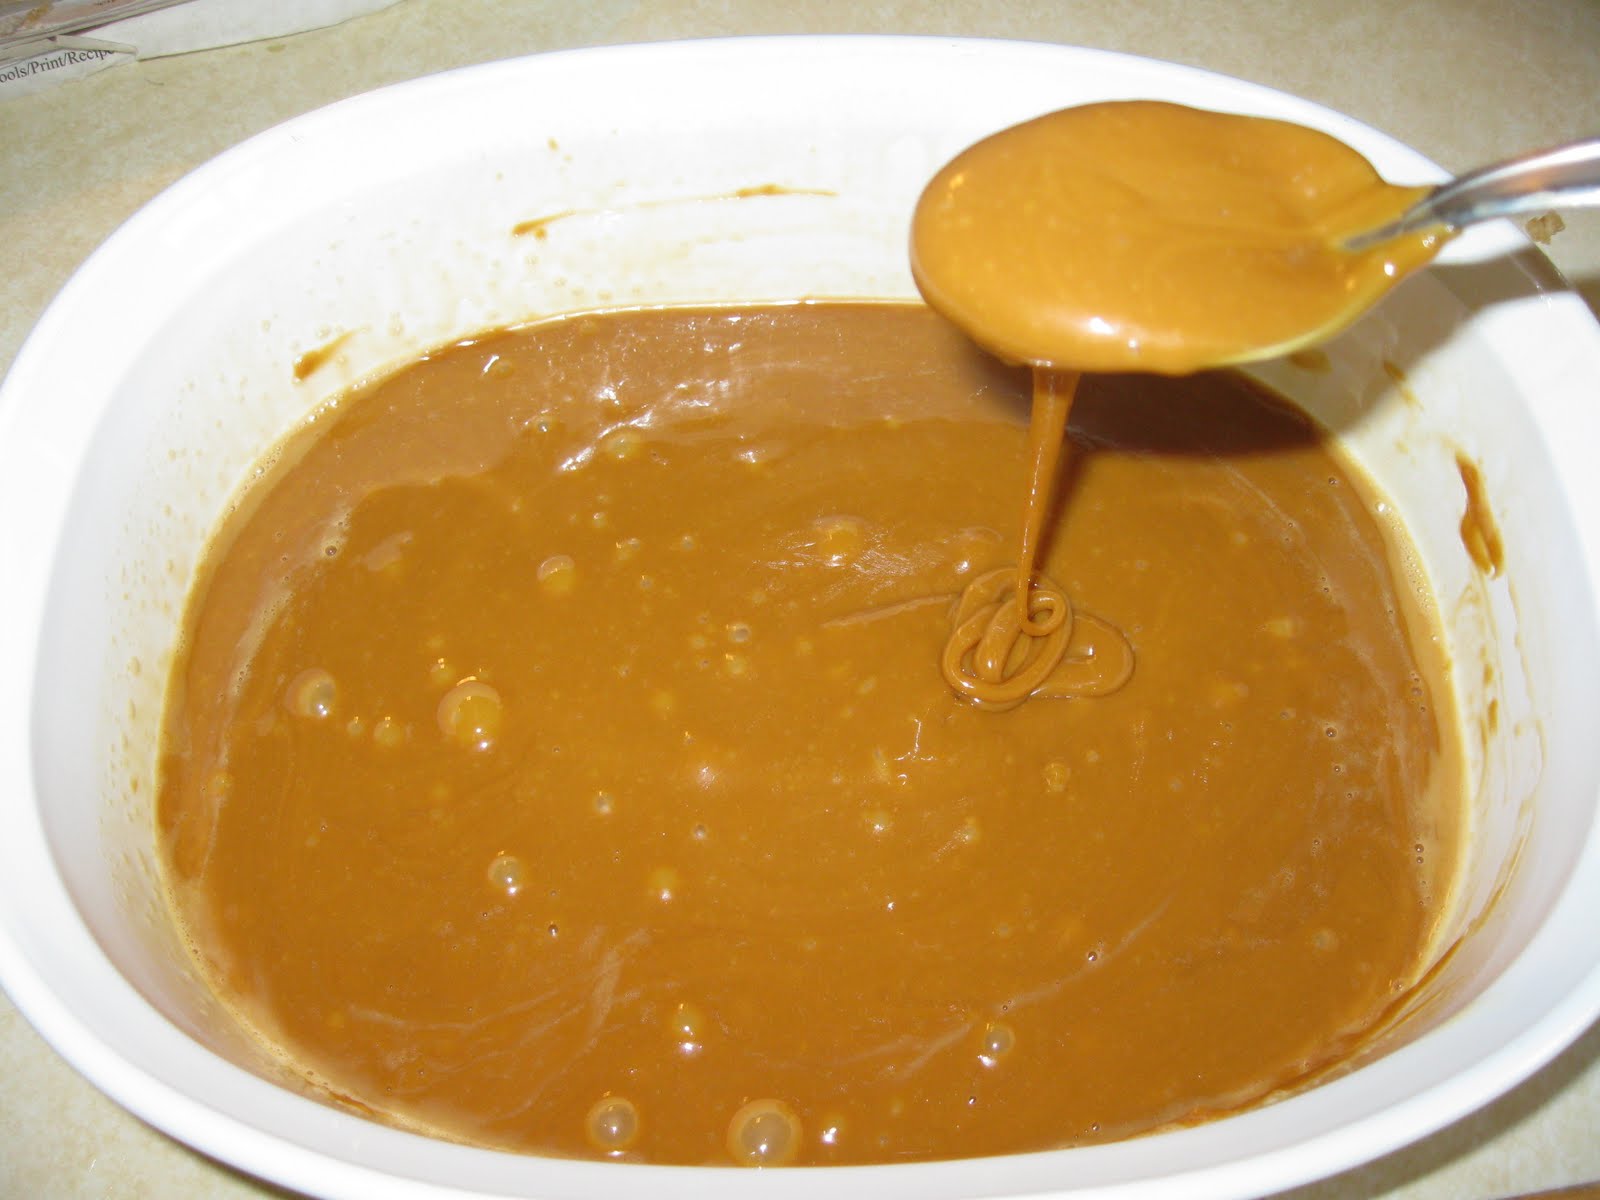
Homemade German Chocolate Cake Frosting

So my hubby had a b-day recently and when I asked him what kind of cake he wanted for his birthday he without hesitation replied "German chocolate" and quickly added "with your homemade coconut pecan frosting!!" Lets just say he didn't have to twist my arm. This creamy caramel coconut pecan frosting is so good you could just eat it with a spoon (which I may have done with the leftovers for a few days). Anyway, don't let the sound of this frosting intimidate you. It is a simple, amazingly good and impressive frosting that everyone will love. Give it a try and soak in the rave reviews!!

German Chocolate Cake Frosting (adapted from allrecipes.com)

1 Cup evaporated milk
1 Cup white sugar
3 Egg yolks beaten with 1 tsp. water
1/2 Cup margarine
2 tsp Vanilla
1 1/2 Cups chopped pecans (adjust to your taste)
3 cups flaked coconut

In a small saucepan combine evaporated milk, sugar, egg yolks, margarine, and vanilla. Cook over a medium heat stirring constantly. Once boiling stir until it becomes thick (about the consistency just thinner than pudding). Stir in pecans and coconut and cool. It will thicken ever more as it cools. Then spread on your cake or find yourself a spoon!!!

Friday, May 6, 2011

Candy filled Cake Balls!

So theater candy was on sale this last week and I felt like I really needed to stock up. Why I am not sure. Sometimes my husband teases me that all of our food storage is crackers, cookies and cake mixes and that we will be trading them for veggies etc if there really was an emergency. It is not totally true, but I will admit we do have plenty of treats stocked away. Any who, when I saw these Junior Mints and Junior Caramels I immediately thought of how fun and tasty they would be in a cake ball. Turns out I was right. If you have never made cake balls they are super easy, so try these with some hidden treats inside and be sure to tell me how it went! Above are your basic line up of ingredients.


So first off you make your cake as directed on the box and let it cool. Once cool you get the fun of breaking it up into a fun pile of crumbs.


After you have your tasty crumbs mix in one container of premade frosting. I used chocolate so the flavors would meld well.


After you mix those two things together you can start to scoop up your cake balls. I used an ice cream scoop so they would all be uniform. Then as you can see here I hid a Junior Mint or Junior Caramel in the middle.


Then just pinch around it and seal in off so that no one knows there is an extra treat hiding inside. Place on a foil lined tray and pop in the freezer for a few hours. Once they are thoroughly chilled melt your candy coating or Wilton melts and rolls the balls until covered. Since they are pretty well frozen they will hold together well and the chocolate will harden quickly.


Once finished keep at room temperature, but who are we kidding these will not last long. Here you can see my happy Junior Mint that was hiding in the middle. Soooooo tasty!!


Wednesday, April 27, 2011

Strawberry Oreo Trifle

So here is a twist on my amazing sister in laws oreo trifle. In my Sister in laws version she layered whole chocolate oreos, chocolate pudding, and cool whip over and over. Then you let it sit overnight so that the oreos get all soft and gushy. Hee Hee!! If you want more variation in color you can make varying shades by mixing your pudding and cool whip. So I adapted this recipe recently when I saw the golden oreos on sale. I used golden oreos, vanilla pudding, cool whip and stawberries. It would be tasty with chocolate oreos and strawberries too. You can add all sorts of fun and tasty things and layer them in a trifle bowl or just a glass bowl. Believe me, it will be delicious and it will be gone before anyone elses treats. If not let me know and I will come pick up your extras!!

Oreo Trifle
Whole oreos (pick a flavor, you will need 1 pkg for a small to medium bowl, two for larger)
Cool Whip
Pudding (pick a flavor to match your oreos, small pkg for small to medium bowl, large for larger)
Extras can include but are not limited to fruit, chocolate chips, M&M's, toffee bits, caramel, nuts...

Friday, April 15, 2011

Wildlife Cake!

This cake was sooooo fun to make. It was for a little boy who loves everything animals. We decided to have the tiers represent the water, earth and sky. I will admit this is the first time I have ever done any hand painting on a cake before, but I think it turned out pretty good. I cut out the animals from fondant and let them dry, then hand painted each and placed them on the side of the fondant covered cake. I like the elephant and the killer whale the best, which do you like?!!
Here is an eagle and a tiger. The eagle was the only sky animal they wanted, it is his favorite.
Here is a not so scary shark and a cute sea turtle.
Here is a dolphin and a giraffe. I loved doing the mane on the giraffe.
Here is a monkey and a alligator, that monkey better watch his tail!!
Here is my cute elephant, I love his wrinkled knees!
Last is my fun killer whale jumping out of the water!!

Tuesday, March 29, 2011

How to Train your Dragon Cake!!

So sorry for the lake of posting lately. We were sick for a while and then had a family wedding, but we are back to the day to day stuff now. So here is a cake I just made. The birthday boy wanted it to be like the movie, How to Train your Dragon. If you haven't seen it you must, so cute!! We made the bottom of the cake to be more like the rocky island he lives on and the top like the sky so that they could fly through the air,.
So here is the main character Hiccup and his night fury dragon friend Toothless.
I found these little wire cake accessories at the craft store and thought they would be perfect to hang some flying dragons off the cake. They were a great success!!

Tuesday, February 22, 2011

Carmelitas!!

So this is one of those recipes that everyone asks for and you usually keep it a secret to it is your "special thing", but since I like you all I thought I would share. I originally had these on a trip in Park City. My sister in law Jen brought them and I could not stop eating them. It was very quick after that that I got the recipe from her and have been making them ever since. These are my husbands very favorite cookie ever. They have brown sugar, oats, chocolate and caramel what more could you want!! Give them a try and let me know how it went!!
So here is my dough, it is crumbly and you just press it everywhere till it fills the pan.

Here are your ingredients for your caramel. I used to use the clear wrapped ones, but between how hard they were to unwrap and the flavor I replaced them with Werther's soft caramels. My kids love to help unwrap them and the flavor is rich and amazing.


Here they are after a minute in the microwave, don't freak out they will smooth out really soon.


See! One more minute in the microwave and the caramel is ready to go!


Here they are almost all the way put together. Sooo Good!!
Carmelitas
Just FYI this recipe is for a 9x13 pan. I doubled it and made it in a cookie sheet. I always need more than just a 9x13 pan!!
2 Pkg. Werthers soft caramels
3 Tbs. Evaporated milk
2 Cups Flour
2 Cups Quick Oats
1 1/2 Cups Brown Sugar
1 tsp. Baking Soda
1 1/2 tsp. Salt
1 Cup Melted Butter
1 Pkg. Chocolate Chips
Start by making your caramel. Unwrap all of you caramels and add the evaporated milk. Microwave for a minute, stir and microwave for one more minute. The caramel should be smooth and soft. Set aside. Place all the rest of the dry ingredients but chocolate chip in a large bowl. Pour the melted butter over the top and mix until the butter is combined well and the mixture is crumbly. Spread half of the dough into a 9x13 greased pan. Bake at 350 degrees for 10 minutes. Remove from the oven and top with chocolate chips. Next pour your caramel evenly over the top of the chocolate chips. Finish by sprinkling the rest of the dough on top. Press down slightly then return to the oven for another ten minutes. These are great alone, but if you want to be real bad serve them hot with ice cream. They have the caramel and chocolate built in and they are amazing!!


Wednesday, February 9, 2011

Heart Tarts!

So, the day of Love is approaching. It is also crunch time if you don't have anything for that special someone in you life. Well here is something I came up with that is beyond simple, beautiful and delicious. This is a tart in the shape of a heart and you can make them any flavor you like, but believe me when you give one of these they will definately love you!!
So it all starts with pre-made pie dough. Each package has two 8 or 9 inch rounds so you can make two heart tarts. All I did here was grease a cookie sheet, put down my thawed pie dough round. Next I used a knife to cut the bottom into a point and using the excess dough on the top created a heart shape. Be sure to press the dough together so the it is one solid piece.


Next you need your pie filling. You need one can per tart. I used peach in one and cherry in the other. For the cherry I added about a 1/4 tsp of almond extract. For the peaches I sprinkled the top with cinnamon and sugar. You do not need to spread the filling very much. After that I just pulled up the edges all the way around. You get a beautiful rustic look that is also whimsical for Valentines day. Bake at 350 degrees for 20 minutes. It is done when the edges are golden and the filling is bubbly. Enjoy!!