Friday, July 23, 2010

Pie in a Cookie Pan!!!

Happy 24th of July weekend! So here in Utah we celebrate Pioneer day which always includes a lot of family and a lot of food. I was trying to think of something other than a cookie to bring to a family party when this idea popped into my head. I love pie, but will admit that you have to make a lot of them to feed a lot of people. Plus it is hard to serve them without the pieces getting all broken. So, this will solve both of those problems. My pie in a cookie pan will feed a happy hungry crowd and you can serve it with your regular square spatula with no mess! Woo Hoo!! Feel free to pick any flavor. I went with peach MMMMMM! Have a tasty weekend!
So, I will fully admit I went with canned filling. I didn't need the hassle of peeling, pitting, boiling and thickening. It made it much faster. Here is my dough and the recipe. My children helped me make this with no problem.
Pie Dough
6 Cups Flour
3 Cups Unsalted Butter
3 tsp. Salt
1 1/2 Cups Ice Water
So first measure in your flour and salt then break up your butter. You want your butter straight from the fridge. It is harder to break up, but well worth the effort. Use your hands to mix the butter into the flour and salt until the whole mixture is crumbly. Next add your water a little bit at a time until your dough just comes together. Do not over kneed your dough or it will get tough. You will still see pockets of butter and that is what you want. Those create all those awesome buttery layers. Cover your dough and throw it in the fridge for about 15 minutes while you preheat the oven to 375 degrees.

Now we are ready to roll. Flour your counter and roll out half of your dough to about the size of your cookie sheet. The trick to getting it in your pan is to roll it up on your rolling pin and then roll it onto the pan! Be sure to grease your cookie sheet!!!


Trim off any extra dough and then use a fork to poke the bottom crust. You do this so the steam has somewhere to escape so your pie doesn't blow up in the oven.


After that, spread in your pie filling. I used 4 cans for this big pie. Before you put your top crust on sprinkle the pie filling with sugar and cinnamon. Roll out your second crust and use the same rolling pin technique to get it on top of the pie. I used a small cookie cutter before rolling it onto the pie to make some decoration. You can do the same or just make slits to let steam out. Be sure to pinch around the edge to keep all that tasty filling in. Next I dip my fingers in milk and rub it all along the top of the pie. It helps make it golden and gives it that perfect crunch. Right after you rub on the milk sprinkle the pie with sugar. I used sanding sugar for a stronger flavor and crunch. You could also top with cinnamon too. Bake in the oven for about 45 minutes or until golden brown. Serve hot or cold.


Thursday, July 15, 2010

Chocolate Dipped Strawberry Crispies!!

Long time no blog! Please forgive me for my slow posting. I did want to sneak in this easy and tasty cookie. I saw the strawberry marshmallows at the store this week and had to grab a bag. This is a simple twist on your rice crispy treats. You add a flavored marshmallow and some chocolate, and all the sudden they are fun and fancy!! Enjoy!
So how awesome is it that these are the only ingredients you need? Melt you butter in a large pan on the stove. Then add the marshmallows and stir constantly until they are all melted together. (Tip: Be sure to melt these at a medium to low temperature. If you do it too fast or hot your cookies will be hard as rocks. I melted mine between a 4 and 5 on my stove.) Add 9 cups of rice crispies and press into a greased 9x13 pan.


Then all you have left to do is melt your chocolate chips in the microwave, spread sprinkle and eat!!

Friday, July 2, 2010

Not Just for Cupcakes anymore!!

Hey all! So I thought I would share a great tip. These are adorable cupcake holders, but I don't just use them for cupcakes. I also use them to serve treats. If you want your cookies to be the first to go just serve them individually in these cute little cups. I love the convenience of making bar cookies and this way no one has to stand at your pan and cut themselves a cookie. They can just grab one and go, plus they keep your hands clean. I still like to cut my cookies big, so just flatten them out a little and you are ready to go. Good luck and have a great holiday weekend!!!

Saturday, June 26, 2010

Stars Stripes and Cupcakes Forever!!

Ok, I told you the 4th was one of my very favorite holidays, so here is a festive cupcake to celebrate in style. It is simple but will stand out at any gathering!! Also stay posted this week because I have a few more simple but awesome tricks up my sleeve for the 4th and any other summer party!!

These cupcakes are red white and blue, but you don't know it until you bite into them!

Here is what you need. Make sure you use a good red food coloring ( I used Americolor) so you are not pink white and blue.


I made the mix as directed and then divided the batter in half and tinted on half red and left the other half white. I put them in these Wilton squirt bottles because it makes it easier to control the batter. Feel free to use spoons or an ice cream scoop.


I just squirted a layer of one color and then the other and the baking process did the swirling for me. You can also put your batter in and give it a swirl with a tooth pick or a knife.


Bake and frost and this is how they look before you bite...


This is how they look after, a burst of color to surprise the eater. Enjoy!!


Monday, June 21, 2010

Hazelnut Heath Bar Brownies

Ok, so I must tell you that the 4th of July is one of my very favorite holidays ever. I love everything about it from honoring my country to cheesy parades to family barbeques and fireworks. I will say though, that a lot of those memories are attached to some type of food. That being said I want to share some treats that will make memories and also be a big hit for the summer. This is one of my latest creations, and I must say it is TASTY!! If you love a fudgy brownie or hazelnut, or toffee, basically you will think you have died and gone to heaven. Take a peek and then try it out for me!!
Here are your basic needs, a great brownie recipe (I'll share one with you!), a small container of Nutella (YUM) and 4 Heath bars (YUM AGAIN!).
HAZELNUT HEATH BAR BROWNIES
2 Cubes margarine
10 TBS. Cocoa
2 Cups Sugar
4 Eggs
1 1/2 Cups Flour
Dash of Salt
1 Small container Nutella
4 Small Heath bars crushed
Melt the margarine and mix in your cocoa. Then add your sugar and eggs. Beat well. Lastly add your flour and salt. Spread into a greased 9x13 pan and bake at 350 degrees for 15 minutes. Pull your brownies out of the oven. They will only be half cooked at this point. Open the Nutella and drop spoonfuls all over your brownies. I used the whole jar, but you can use less if you want them less fudgy. Next take a butter knife and swirl the Nutell into the uncooked brownie batter. Be careful not to go all the way to the bottom of the pan. Stay in the uncooked batter on top. Now put back into the oven for another 15 minutes or until the brownie batter is cooked through. The Nutella will stay soft and fudgy. Remove from the oven and immediately top with your Heath bar pieces pressing them gently into the top of the brownie so they don't fall off when you bite into them. Cool completely. These are great hot with ice cream, but if you want to cut them into bars I would suggest refrigerating them for a cleaner cut. Happy Baking!!!

Here they are with the Nutella just dropped on them. You can see that the edges of the brownie are baked but the center is still raw.


Here they are once the Nutella is swirled in ensuring that chocolate hazelnut fudge in every bite!!!


Friday, June 11, 2010

A Wonderland Cake!


This is my Alice in Wonderland cake. Other than my frosting not liking the humidity it turned out really cute. This was also the first time I have made a topsy turvy cake, but definitely will not be my last. I thought topsy turvy was appropriate for a Wonderland cake. Take a peek at the characters up close!

The Mad Hatter and the Hare!


My favorite, the Cheshire Cat!


Of course Miss Alice and the talking flowers!


And Mr. Rabbit! He was not late for this special birthday party!


Wednesday, June 9, 2010

S'more Crispie Treats!

Ok, I told you I would put those giant marshmallows to good use. I have been thinking about Fathers day coming up, and I thought that these would be and awesome Dad's day treat. It's all the great things about camping, but Dad doesn't have to set up the tent. I will try to get you another fathers day recipe in the next week, but give this one a try because it is a definite winner. Oh, and don't worry, those ants in the picture were painted on my serving tray!!

S'more Crispie Treats
1 Stick margarine or butter
1 Cup Brown Sugar
1 Cup Corn Syrup
Bring slowly to a boil and boil for 3 minutes stirring constantly.
Add 1/2 a 14 oz can of sweetened condensed milk and boil for another 3 minutes.
Stir in 14 cups of graham cracker cereal.
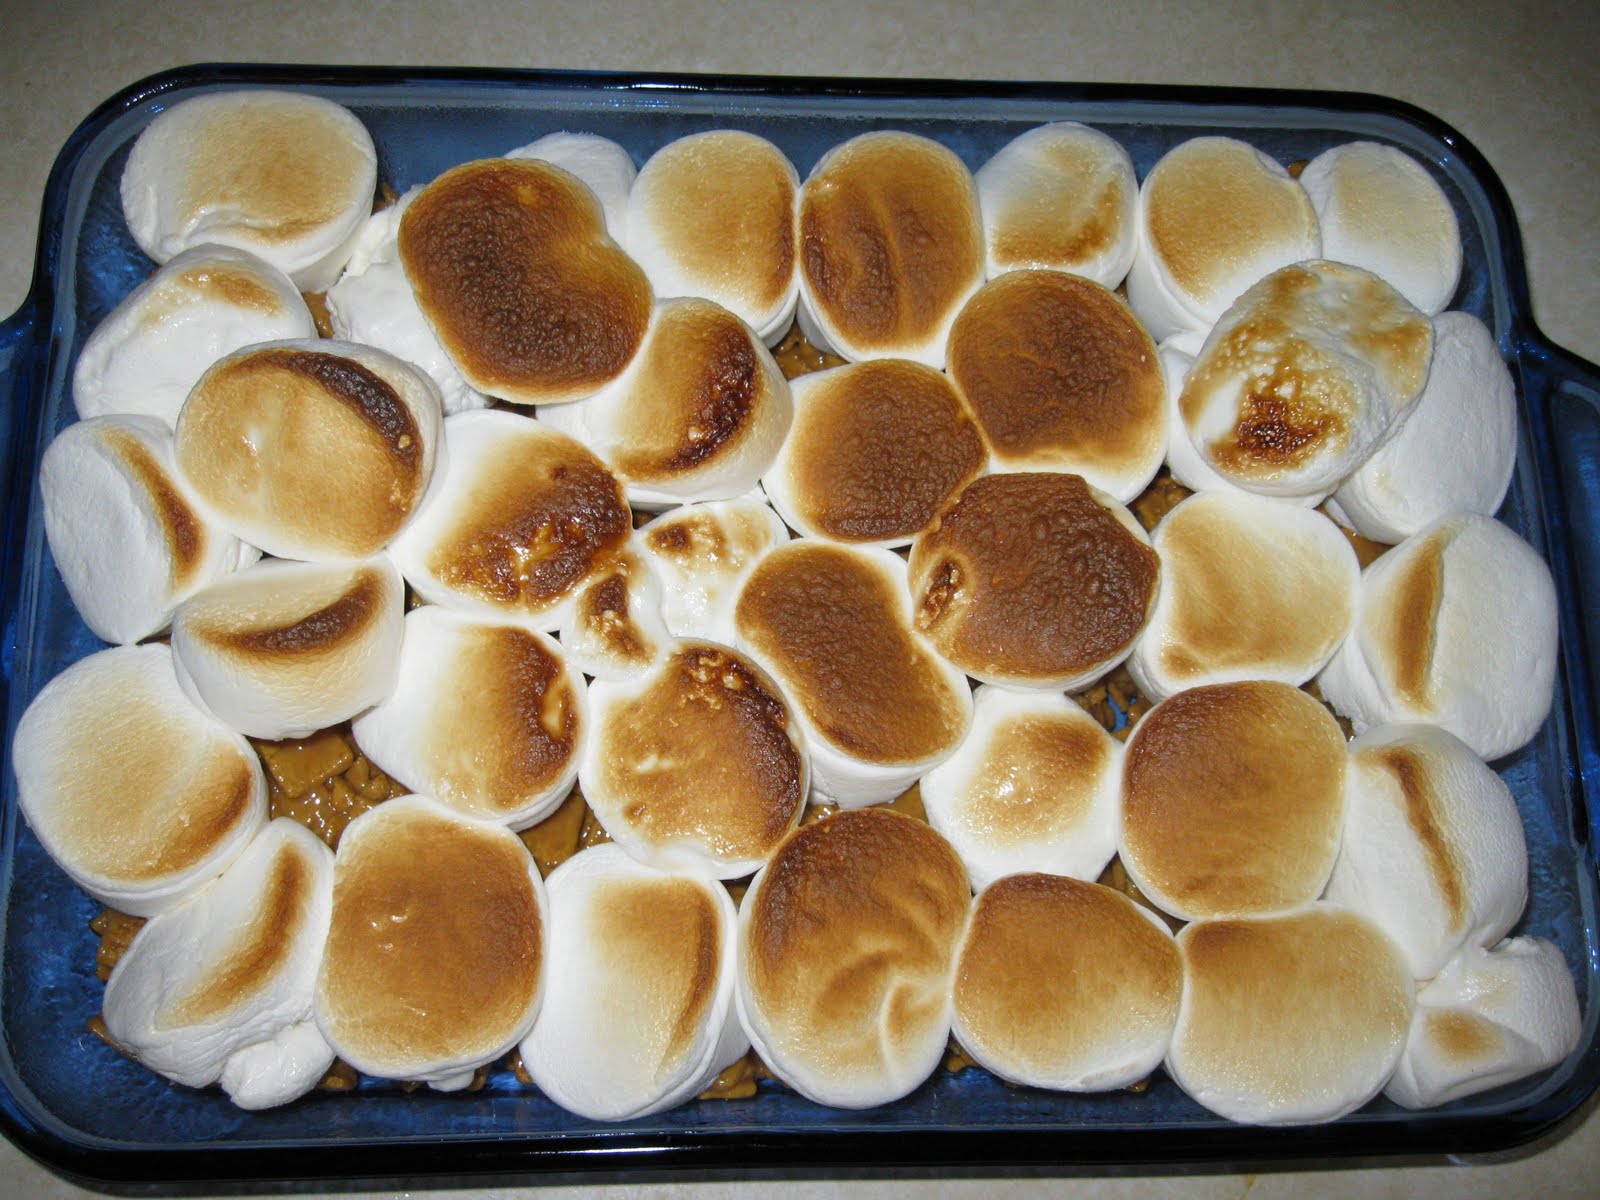
Press half of the mixture into a 9x13 greased pan. Press it in firmly. This is where the marshmallows come into play. I will admit I used the XL marshmallows but I broke them in half and layered them on top so regular large marshmallows should be perfect. Then I stuck them under the broiler for a minute. Watch them because they toast fast.

Here are my marshmallows toasted. I loooooooove that smell.

Top them with the other half of the cereal mixture and press in so they stick together good.


Now melt chocolate and spread over the top. To be authentic I melted 6 Hershey bars. Use whatever you like.


Then just slice them up and enjoy. One helpful hint. Spray your knife or cutting spatula with non stick spray before you cut these then you won't get stuck in the marshmallow and your pieces will come out clean. Enjoy!!!